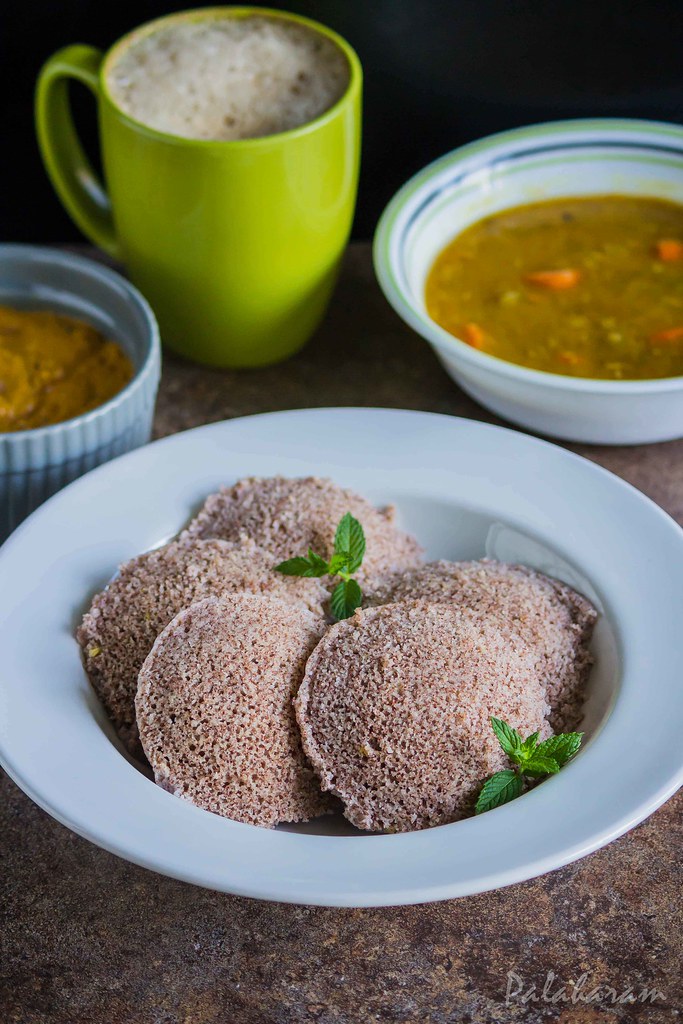
Ragi Idli
Ragi Idli could have never made it to our menu for breakfast, couple of years back. Only after my lil guy was born, we started feeding him Ragi and I started to try understand how wholesome and healthy it is. Hence I started trying different things out of it. The usual idli, puttu, dosa etc. started getting healthier by adding ragi in it. And its good to bring in some variety to the monotonous menu too. No doubt our family has loved it. Because every time I have served it, the plates have been left wiped clean :).

Ingredients


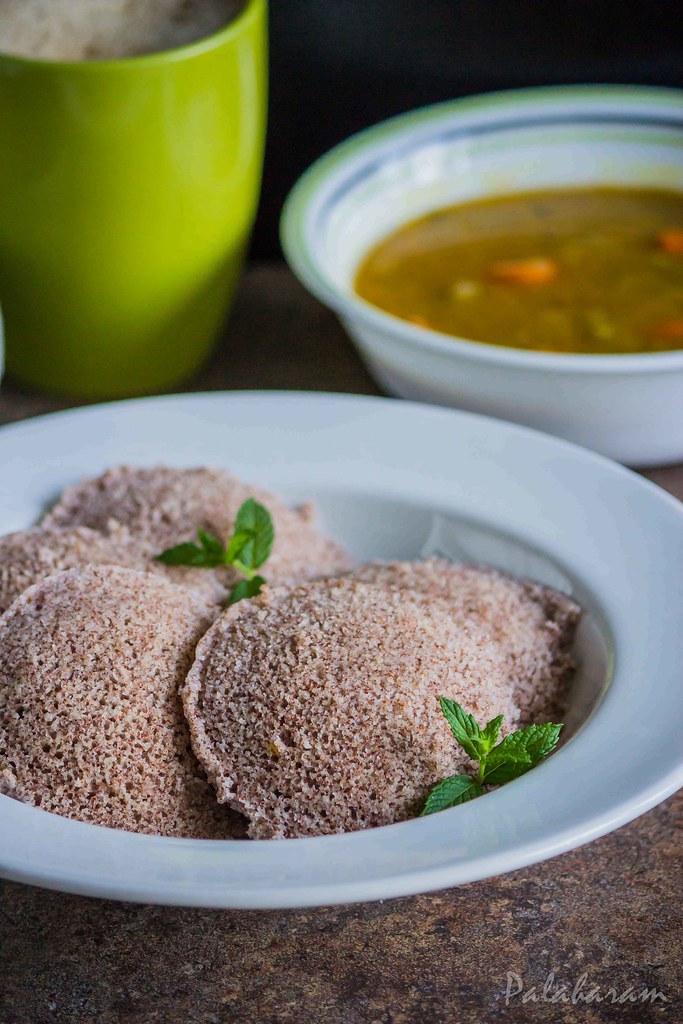
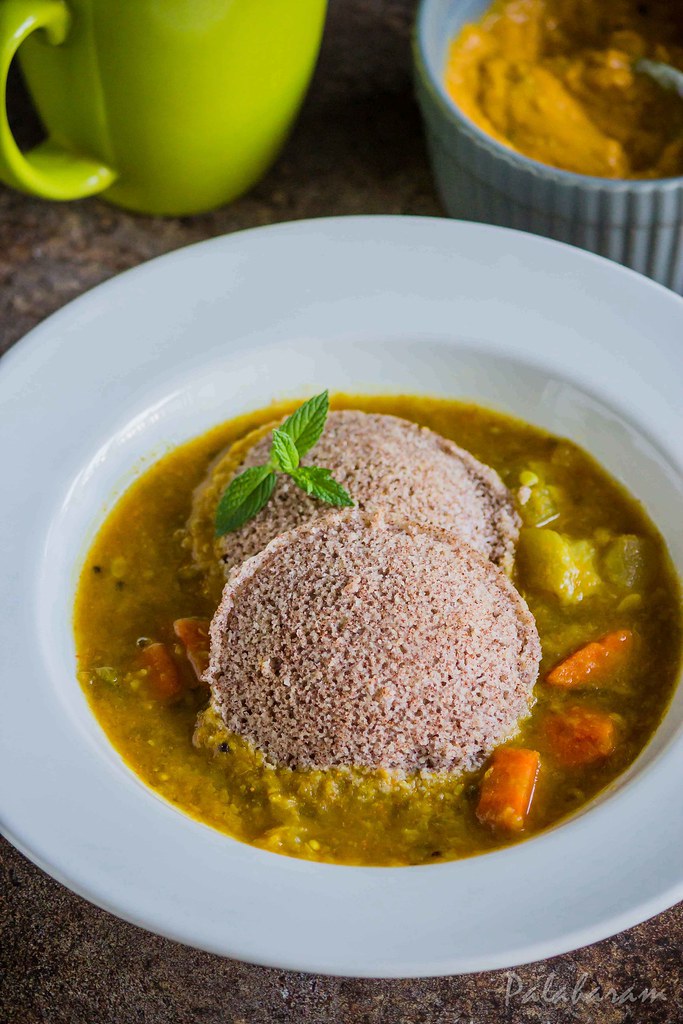
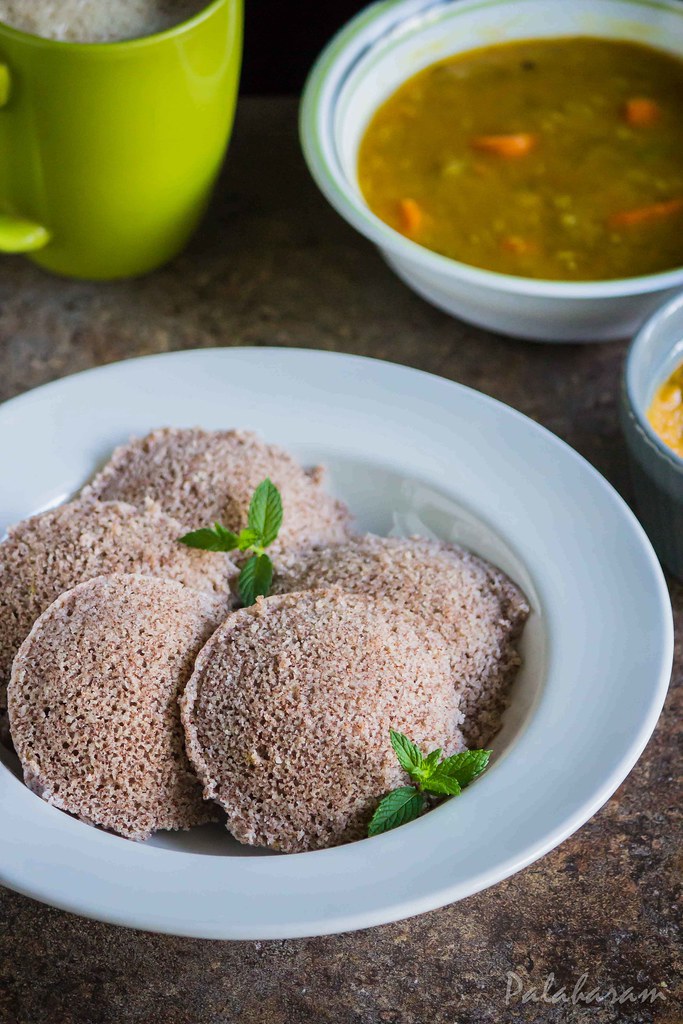
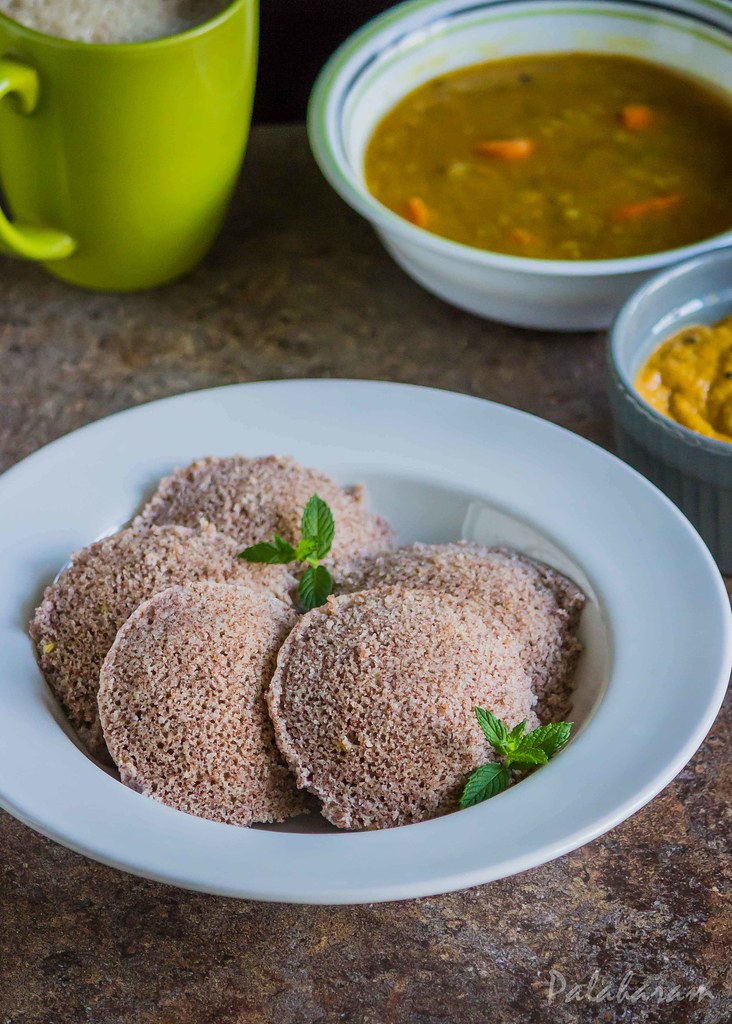
They were so pillowy soft. And that grainy feeling of ragi and its taste was mellowed down by a portion of rice that, it was loved by us, who otherwise would put on a sad face with the mere mention of the word ragi. If you are looking for including ragi in your diet, this ragi idli could be one yummiest ways to do it. So here is the recipe to it.


Ingredients
- 2 cups of whole Ragi/ Ragi flour
- 1 cup of urad dal
- 1 cup of white rice
- 1 tsp of Fenugreek seeds/uluva
- 1 hand full of cooked rice
- Salt to taste
- Water as required to grind them into paste
- 1 tsp of ghee/oil
- Wash and soak the idli rice and whole ragi in a bowl for 7-8 hours. If using ragi flour, you need to add it to the rice while grinding.
- In another bowl, wash and soak urad dal and fenugreek seeds for 7-8 hours.
- Grind the urad dal and fenugreek seeds, with just enough water to form a fine paste.
- Now, grind the rice, cooked rice and ragi/ragi flour. This would require more water when compared to urad dal. Pour the water little by little in equal interval as and when you think that your grinder is not taking up the load. However, do not make the batter too watery.
- Mix both the urad and rice-ragi batter and leave it to ferment. For me, it usually takes 8-10 hrs.
- Batter rises up as it ferments and makes it airy. Mix the salt, as per taste.
- Grease the scoops of the idli maker with ghee preferably or oil. Pour out the batter into it and steam it in a idli cooker.
- Cook it on medium heat for about 12-15 mins or untill they are fully cooked.
- Serve it hot with coconut chutney/sambar or both.
- Yields around 25-30 idlis.
Tips
- The consistency of the batter would determine, how well the idlis turn out to be. Hence, you should be very careful about the amount of water you use while making the batter.
- The time taken for the batter to ferment may vary with the temperature at the place that you are at. To make the fermentation quicker, you could leave the batter in an oven with its light on/preheat the oven and switch off and leave it in the oven. You could place the batter by the side of the stove, so that the batter gets little warmth while you are cooking on the stove. I usually grind it in the evening and leave it by the side of the stove. Overnight, I get lucky and see a perfectly risen batter in the morning.
- If you have an idli maker, made of steel, like I do, then it really gets sticky. To scoop out the idlis clean and with ease, turn each plate of the idli maker and let running water pour over it to cool a bit. Then dip the spoon in drinking water and scoop out each idli. They would come out clean. Also, removing the idlis as soon as it is done helps to remove if faster and also to retain its softness.

0 Response to "Ragi Idli"
Post a Comment